DIY Installation Steps for an RV Washer and Dryer
Are you tired of lugging your laundry to the nearest laundromat every time you hit the road in your RV? Well, fret no more! In this article, we will guide you through the DIY installation steps for an RV washer and dryer so you can enjoy the convenience of doing your laundry right in the comfort of your home on wheels.
With a little know-how and some basic tools, you’ll be on your way to a hassle-free laundry experience in no time. So, let’s get started and make your RV truly feel like home!
Key Takeaways
Assessing the Space and Requirements
Before you begin, make sure you’ve assessed the space and requirements for installing the RV washer and dryer.
Assessing space limitations is crucial to ensure that the appliances will fit properly and not overcrowd your RV. Measure the designated area where you plan to install the washer and dryer, taking into account any necessary clearances and ventilation requirements.
Additional, determining power requirements is essential to ensure that your RV’s electrical system can handle the load of these appliances. Check the manufacturer’s specifications to determine the power consumption and voltage requirements for the washer and dryer.
It’s important to make sure that your RV’s electrical system can provide enough power to operate these appliances safely and efficiently.
Gathering the Necessary Tools and Materials
To get started, you’ll need to gather all the tools and materials necessary.
When it comes to choosing the right appliances for your RV laundry space, there are a few things to consider.
First, you’ll want to think about the size and capacity of the washer and dryer. RVs have limited space, so it’s important to find appliances that will fit properly. Look for compact models that are specifically designed for RVs.
Next, consider the energy efficiency of the appliances to help conserve power while on the road.
When organizing the laundry space in your RV, utilize storage solutions such as shelves or hanging racks to make the most of the available space. Keep laundry supplies in containers or baskets to keep things neat and tidy.
With the right tools, appliances, and organization tips, you can create a functional and efficient laundry space in your RV.
Preparing the RV for Installation
To prepare your RV for installation of a washer and dryer, there are a few key points to consider.
First, gather the required tools and materials, such as a power drill, measuring tape, and the washer and dryer units themselves.
Next, measure the available space in your RV to ensure that it can accommodate the appliances and any necessary venting or plumbing.
Lastly, consider the electrical and plumbing requirements, ensuring that your RV has the necessary hookups and connections for a washer and dryer installation.
Required Tools and Materials
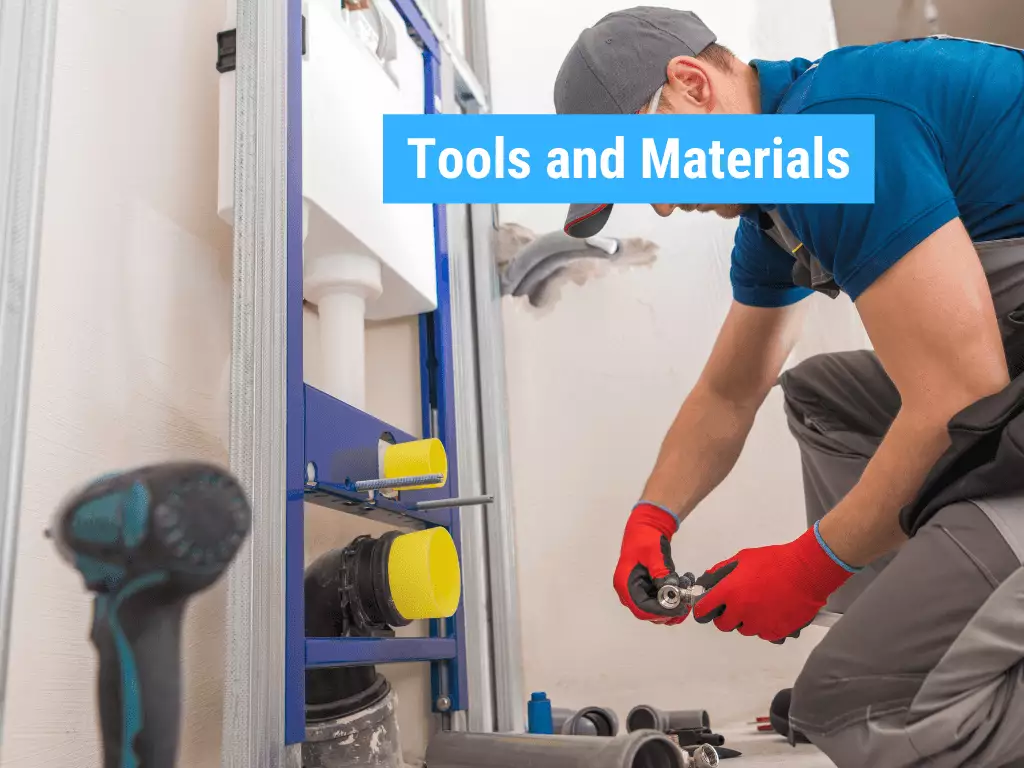
You’ll need a few tools and materials to install your RV washer and dryer. Here is a list of what you’ll need:
| Tools | Materials |
|---|---|
| Screwdriver | RV washer and dryer combo unit |
| Adjustable wrench | Mounting brackets and screws |
| Pliers | Water hoses and connectors |
| Level | Electrical wiring and outlets |
Having the right tools and materials is crucial for a successful installation. When choosing the right washer and dryer models for your RV, consider the size and energy efficiency. Compact and stackable units are ideal for RVs with limited space. Additionally, make sure to read the manufacturer’s guidelines for installation and maintenance. Regular cleaning of the lint trap and drain hoses is important to prevent clogs and ensure optimal performance. Proper maintenance will extend the lifespan of your RV washer and dryer and keep them running smoothly during your travels.
Measuring Space Requirements
When measuring the space for your new combo unit, be sure to account for both the width and depth of the area. To ensure measuring accuracy, use a tape measure that’s at least 25 feet long.
Start by measuring the width of the space from one side to the other, taking into consideration any obstacles, such as cabinets or walls.
Next, measure the depth of the space by measuring from the back wall to the front of the area. It’s important to leave some extra space for ventilation and easy access to the unit.
Space optimization is key, so make sure to choose a combo unit that fits perfectly in the available space, maximizing the functionality of your RV laundry area.
Electrical and Plumbing Considerations
Make sure your electrical and plumbing systems are properly equipped to handle the power and water requirements of the combo unit.
When installing an RV washer and dryer, it is crucial to ensure that your electrical wiring can handle the load of the appliances. Check the amp rating of your circuit and make sure it meets the requirements specified by the manufacturer. If necessary, consult a professional electrician to upgrade your wiring.
You need to consider the water supply for your washer and dryer. Ensure that your RV has adequate water pressure and a supply line that can handle the demands of the appliances. It may be necessary to install a separate water line or upgrade your existing plumbing system to accommodate the washer and dryer.
Taking these precautions will ensure a safe and efficient installation of your RV washer and dryer combo unit.
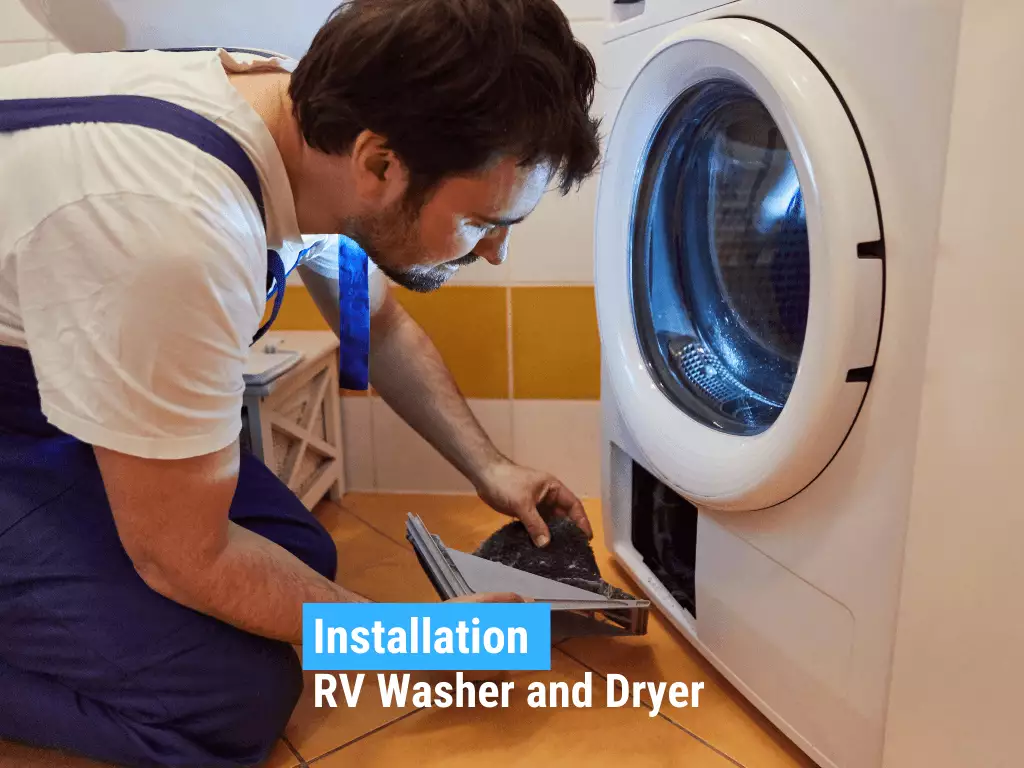
Installing the Washer and Dryer Unit
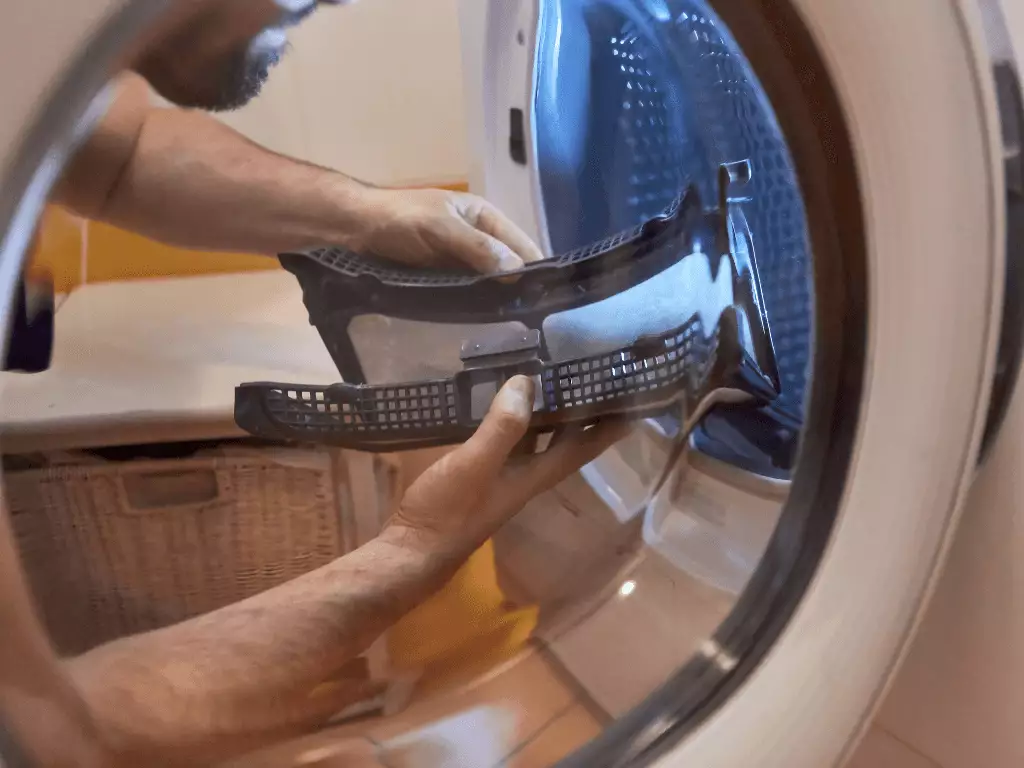
First, attach the washer and dryer unit securely to the designated area in your RV. This is crucial to ensure that the unit stays in place while your RV is in motion.
To install the washer properly, follow these steps:
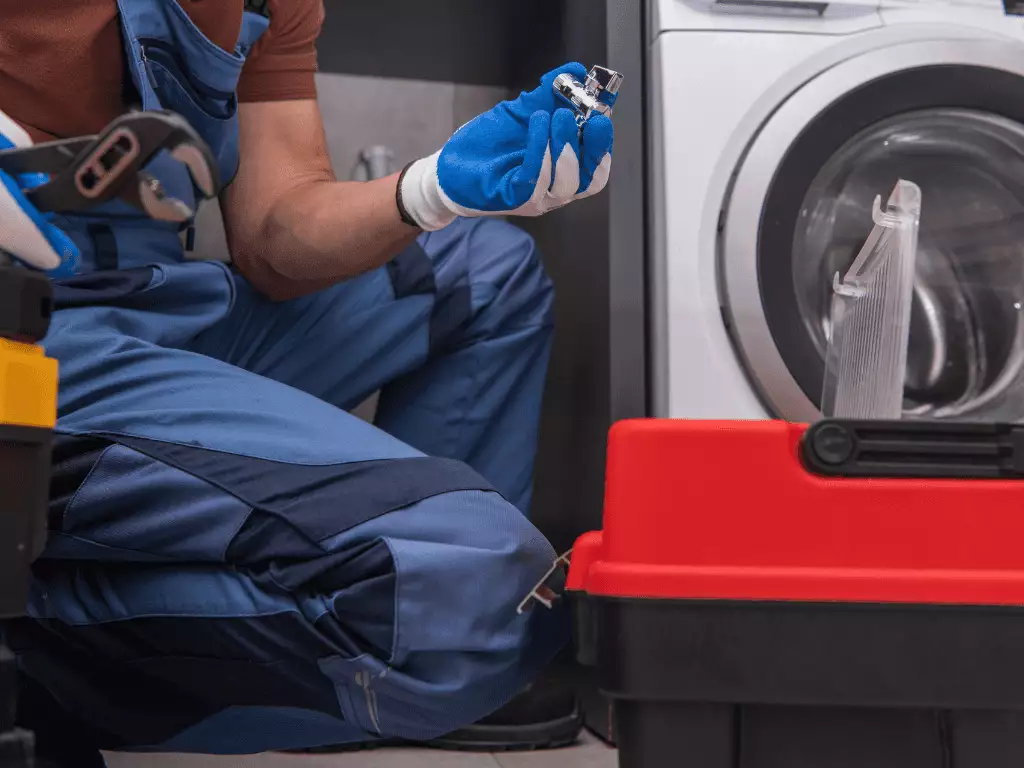
Connecting the Plumbing and Electrical Systems
To properly connect the plumbing and electrical systems, ensure that the appropriate connections are securely fastened and that all wiring is properly grounded. This step is crucial for the safe and efficient operation of your RV washer and dryer.
First, carefully connect the electrical wiring to the designated outlets. Make sure to follow the manufacturer’s instructions and use the correct gauge of wire for the appliances. It is essential to have a reliable power source to prevent any electrical issues.
Next, connect the water supply lines to the washer and dryer. Use high-quality hoses that are specifically designed for this purpose. Tighten the connections securely to prevent leaks. Remember to turn off the water supply when not in use to avoid any potential damage.

Testing and Troubleshooting
Are you experiencing any issues with your plumbing or electrical systems? Don’t worry, we’ve got you covered. Here are some common troubleshooting issues and testing methods to help you identify and fix any problems:
- Check for leaks: If you notice any water dripping or pooling around your plumbing connections, it could indicate a leak. Use a flashlight to inspect the area and tighten any loose connections.
- Test electrical connections: If your electrical system is not functioning properly, start by checking the power source. Ensure that the circuit breaker is in the correct position and that all wires are securely connected.
- Use a multimeter: A multimeter is a handy tool for testing electrical circuits. It can help you identify issues such as faulty wiring, short circuits, or blown fuses. Follow the manufacturer’s instructions to safely use a multimeter.
Securing and Finishing the Installation
When it comes to securing and finishing the installation of your RV washer and dryer, there are three key points you need to focus on: anchoring the appliances, concealing visible connections, and ensuring proper ventilation.
Anchoring the appliances is crucial to prevent them from moving or tipping while your RV is in motion.
Concealing visible connections not only improves the aesthetic appeal of your RV, but also protects the connections from damage.
Lastly, ensuring proper ventilation is essential for the efficient and safe operation of your washer and dryer, as it helps to prevent overheating and maintain optimal performance.
Anchoring the Appliances
Before beginning the installation, make sure you have securely anchored the appliances in place. Anchoring your washer and dryer is crucial to prevent any movement or accidents while on the road. Here are three anchoring techniques you can consider:
- Use straps or bungee cords: Attach straps or bungee cords to the back of the appliances and secure them to the surrounding walls or cabinets. This will help keep them in place during travel.
- Install brackets or brackets with screws: Mount brackets to the walls or floor and attach them to the appliances. This method provides a more permanent and sturdy anchoring solution.
- Utilize anti-vibration pads: Place anti-vibration pads under the appliances to reduce movement and minimize noise. These pads also help to protect the floor and prolong the life of your appliances.
When comparing anchoring appliances in an RV versus a traditional home, there are pros and cons to consider. In an RV, anchoring is crucial due to the constant movement during travel. However, in a traditional home, anchoring may not be necessary unless you live in an area prone to earthquakes or have small children or pets that could potentially knock over the appliances.
Concealing Visible Connections
To hide any visible connections, consider using cord covers or wire channels to neatly conceal the wires and cords connecting your appliances. This step is crucial in creating a clean and organized look for your RV washer and dryer installation.
Cord covers are available in various sizes and materials, allowing you to choose the one that best suits your needs. Simply place the cord cover over the wires and secure it with adhesive or screws.
Wire channels, on the other hand, are designed to hide multiple wires and can be easily attached to the wall or baseboard.
Additionally, when camouflaging the plumbing connections for your appliances, you can use decorative pipe covers or paint them to match the surrounding area.
Ensuring Proper Ventilation
Now that you have concealed the visible connections of your RV washer and dryer, it’s time to ensure proper ventilation. This step is crucial to prevent moisture buildup and keep your laundry area safe and functional.
Here are some tips to help you maximize airflow and choose the right ventilation system:
- Locate the ideal spot: Find a suitable location for your washer and dryer setup, preferably near an exterior wall. This will make it easier to install a ventilation system and expel moist air outside.
- Select the right ventilation system: Consider options like vented or ventless systems. Vented systems use ductwork to expel air outside, while ventless systems recycle and condense moisture. Choose the system that best fits your RV’s layout and your needs.
- Install proper venting: If you opt for a vented system, ensure that you install the ductwork correctly. Use insulated ducts to prevent condensation and meet safety standards. Position the vent cap at a high point on the exterior wall to maximize airflow and minimize moisture buildup.
Frequently Asked Questions
How Much Space Is Required for Installing an RV Washer and Dryer?
To maximize space for installing an RV washer and dryer, you need to consider the dimensions of the appliances. Make sure you have enough room in your RV to accommodate both the washer and dryer comfortably.
Can I Use a Regular Household Washer and Dryer in My Rv?
Using a regular household washer and dryer in your RV has pros and cons. They offer more capacity and convenience but require more space and power. To maximize space, consider stackable units or compact models.
Do I Need Any Special Tools or Materials for the Installation?
You’ll need some special tools and required materials for the installation. Don’t worry. We’ve got you covered with a detailed list of everything you’ll need to successfully install your RV washer and dryer.
Can I Install the Washer and Dryer Unit Myself, or Do I Need Professional Help?
You can definitely install the washer and dryer unit yourself! It can be a rewarding experience, but be aware of the pros and cons. Avoid common mistakes by following detailed instructions and seeking guidance when needed.
How Long Does It Typically Take to Install an RV Washer and Dryer?
On average, installing an RV washer and dryer takes around 2-4 hours. However, this can vary depending on your experience and any challenges you may encounter, such as limited space or electrical requirements.
Conclusion
In conclusion, with these DIY installation steps for an RV washer and dryer, you can easily upgrade your mobile home and enjoy the convenience of doing laundry on the go.
By assessing the space and gathering the necessary tools, you can prepare your RV for installation.
Following the steps to install the washer and dryer unit, connect the plumbing and electrical systems, and test for any issues, you’ll have your laundry facilities up and running in no time.
So go ahead and take the plunge – it’s time to wash away your worries and dry them out!