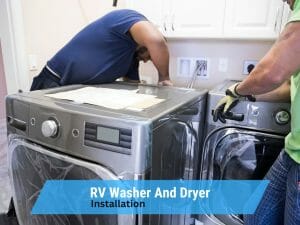
Installing an RV Washer and Dryer
Are you tired of lugging your laundry to the nearest laundromat while on the road? Well, buckle up and get ready to make your RV feel like home sweet home with your very own washer and dryer.
In this article, we’ll guide you through the step-by-step process of installing an RV washer and dryer. From choosing the right appliances to ensuring proper ventilation, we’ve got you covered.
So, let’s dive in and make your RV the ultimate haven of convenience and comfort.
Key Takeaways
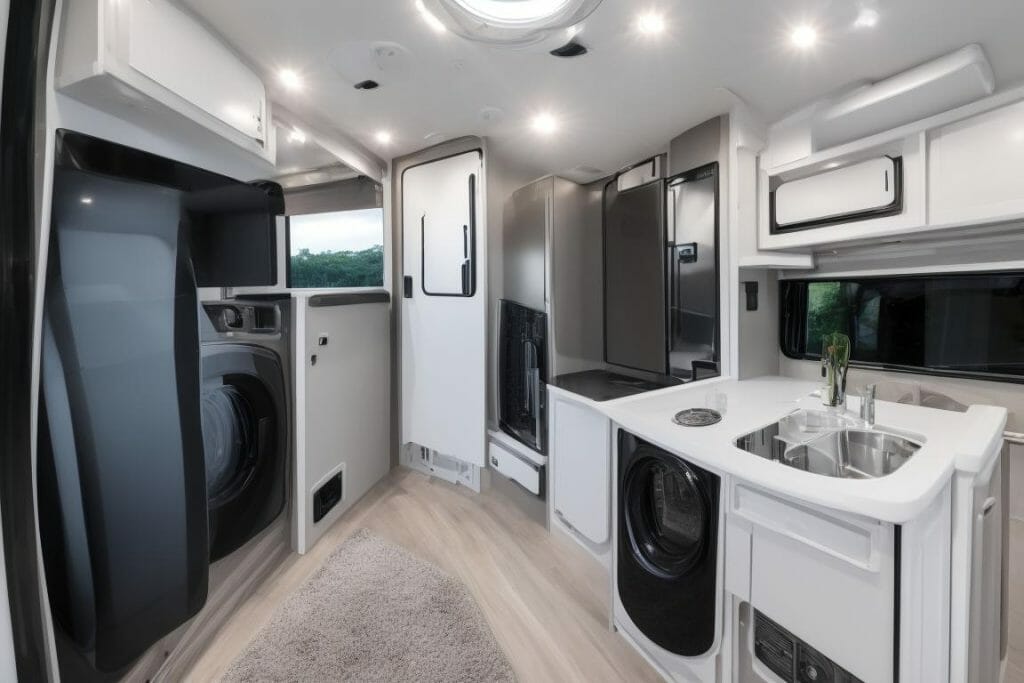
Choosing the Right RV Washer and Dryer
To choose the right RV washer and dryer, you’ll need to consider the size and capacity that best suits your needs. When choosing an RV washer and dryer, there are several factors to consider.
First, determine the available space in your RV for installation. Measure the dimensions carefully to ensure a proper fit.
Next, consider the capacity of the washer and dryer. Think about the amount of laundry you typically do and choose a size that can accommodate your needs.
Additionally, consider the power requirements of the washer and dryer. Some RVs may require a specific voltage or power source.
Lastly, consider the features and functions that are important to you. Do you prefer a washer and dryer combo or separate units? Are energy efficiency and noise levels important?
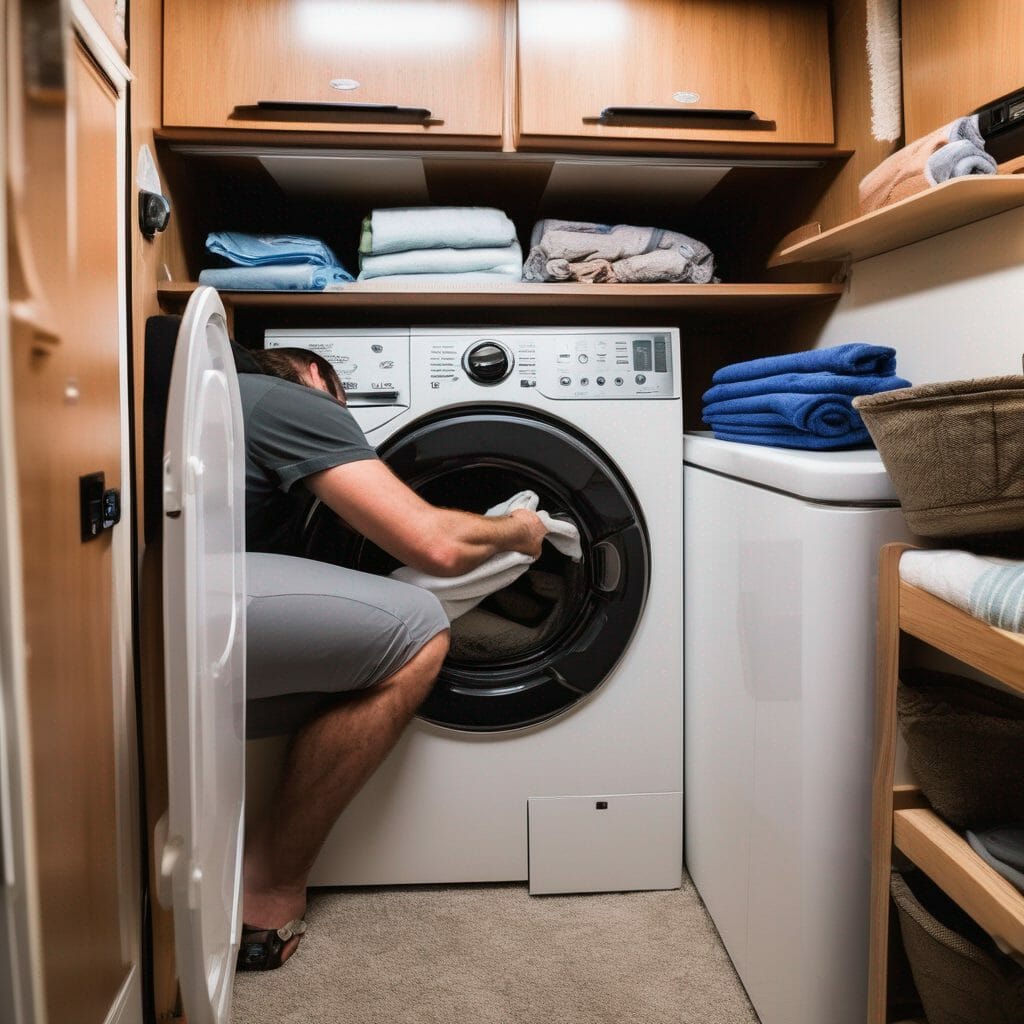
Preparing the Space for Installation
Measure the available space and ensure it’s sufficient for the installation. To maximize space and ensure efficient operation of your RV washer and dryer, careful preparation is essential. Start by measuring the dimensions of the area where you plan to install the appliances. Consider both the width and depth, as well as any height restrictions. Once you have the measurements, compare them to the specifications of the washer and dryer you have chosen. This will help you determine if the space is adequate or if any modifications need to be made. To give you an idea of the space requirements, refer to the table below:
| Appliance | Width (inches) | Depth (inches) |
|---|---|---|
| Washer | 24 | 24 |
| Dryer | 24 | 24 |
Gathering the Necessary Tools and Materials
Before you begin the installation process of an RV washer and dryer, it is crucial to gather the necessary tools and materials.
Some essential tools you will need include a wrench, screwdriver, level, and measuring tape.
Additionally, make sure you have a checklist of required materials such as water hoses, electrical cords, and venting kits.
Essential Tools Needed
You’ll need a wrench and a screwdriver to install the RV washer and dryer. When it comes to RV washer installation, having the right tools is crucial.
The wrench will be used to tighten and secure the various plumbing connections, while the screwdriver will be needed to remove any panels or covers that may be in the way.
Before beginning the installation process, it’s important to familiarize yourself with the specific plumbing requirements of your RV model. This will ensure that you have the necessary materials and tools on hand.
Additionally, make sure to turn off the water supply and disconnect any power sources before starting the installation.
Following these steps will help you successfully install your RV washer and dryer, creating a convenient and efficient laundry solution for your travels.
Required Materials Checklist
To complete the installation, make sure you have a wrench, screwdriver, and all the necessary plumbing connections.
When it comes to RV washer and dryer installation, there are a few essential materials you’ll need to get started. Firstly, you’ll want to choose a reliable and efficient RV washer brand, such as Splendide or Equator. These brands offer compact and durable washers that are specifically designed the best washers and dryers for RVs use.
In addition to the washer, you’ll need a matching dryer that can handle the load capacity of your chosen washer. The dryer installation process will require a venting kit, which includes a vent hose and clamps. It’s crucial to ensure that the vent hose is properly secured to prevent any leaks or damage to your RV.
With the right tools and materials, you’ll be on your way to enjoying the convenience of an RV washer and dryer.
Gathering Installation Instructions
Once you have gathered the necessary materials, it’s important to read through the installation instructions carefully. This will ensure a smooth and successful installation of your RV washer and dryer. Here are some tips to keep in mind:
- Take your time: Rushing through the installation process can lead to mistakes. Carefully follow each step in the instructions to avoid any issues.
- Double-check measurements: Before drilling any holes or making any modifications, make sure to measure twice and cut once. Accuracy is key to a proper fit.
- Seek professional help if needed: If you’re unsure about any part of the installation process, don’t hesitate to consult a professional. They can provide guidance and ensure a safe and effective installation.
Installing the Washer and Dryer Plumbing Connections
Before connecting the washer and dryer, make sure the plumbing connections are properly installed. To meet the plumbing requirements, you’ll need to consider a few installation challenges.
First, ensure that you have the correct water supply and drainage connections. The washer will require both hot and cold water lines, while the dryer will need a vent for the moist air to escape.
Next, check if your RV has existing plumbing connections or if you’ll need to install them yourself. If you’re installing new connections, make sure to measure and cut the pipes accurately. Use appropriate fittings and connectors to secure the connections tightly.
Consider the space constraints and plan the layout accordingly.
Connecting the Washer and Dryer to Power
To ensure the proper functioning of your washer and dryer in your RV, it’s crucial to understand the power source requirements and make proper electrical connections.
First, you need to check the power specifications of your washer and dryer, including voltage and amperage requirements.
Then, you must ensure that your RV’s electrical system can supply the necessary power.
Power Source Requirements
Make sure you’ve checked the power source requirements for the RV washer and dryer. It is crucial to ensure power source compatibility and safety to prevent any electrical issues or damage.
Here are three important factors to consider when checking the power source requirements:
- Voltage: The RV washer and dryer may require a specific voltage to operate efficiently. Check the product manual or specifications to determine the required voltage for your appliances.
- Amperage: The amperage rating is another critical factor to consider. Make sure the power source can provide enough amperage to meet the washer and dryer’s requirements.
- Outlet Type: Check the type of outlet needed for the appliances. RVs may have different outlet configurations, so ensure that the power source matches the outlet type required by the washer and dryer.
Proper Electrical Connections
Ensure that you have the correct electrical connections for safe and efficient operation of your appliances.
When installing an RV washer and dryer, it is crucial to understand power source options and take electrical safety precautions.
First, determine whether your RV has a dedicated 120-volt electrical circuit or a 240-volt circuit. Most RVs are equipped with a 120-volt circuit, which requires a standard 15- or 20-amp electrical outlet. However, if your RV has a 240-volt circuit, you will need a special outlet and a 30-amp or 50-amp breaker.
Make sure to use the appropriate gauge of wire and apply wire connectors securely to prevent any loose connections.
Furthermore, always follow electrical safety guidelines, such as turning off the power before making any electrical connections and using a surge protector to protect your appliances from power surges.
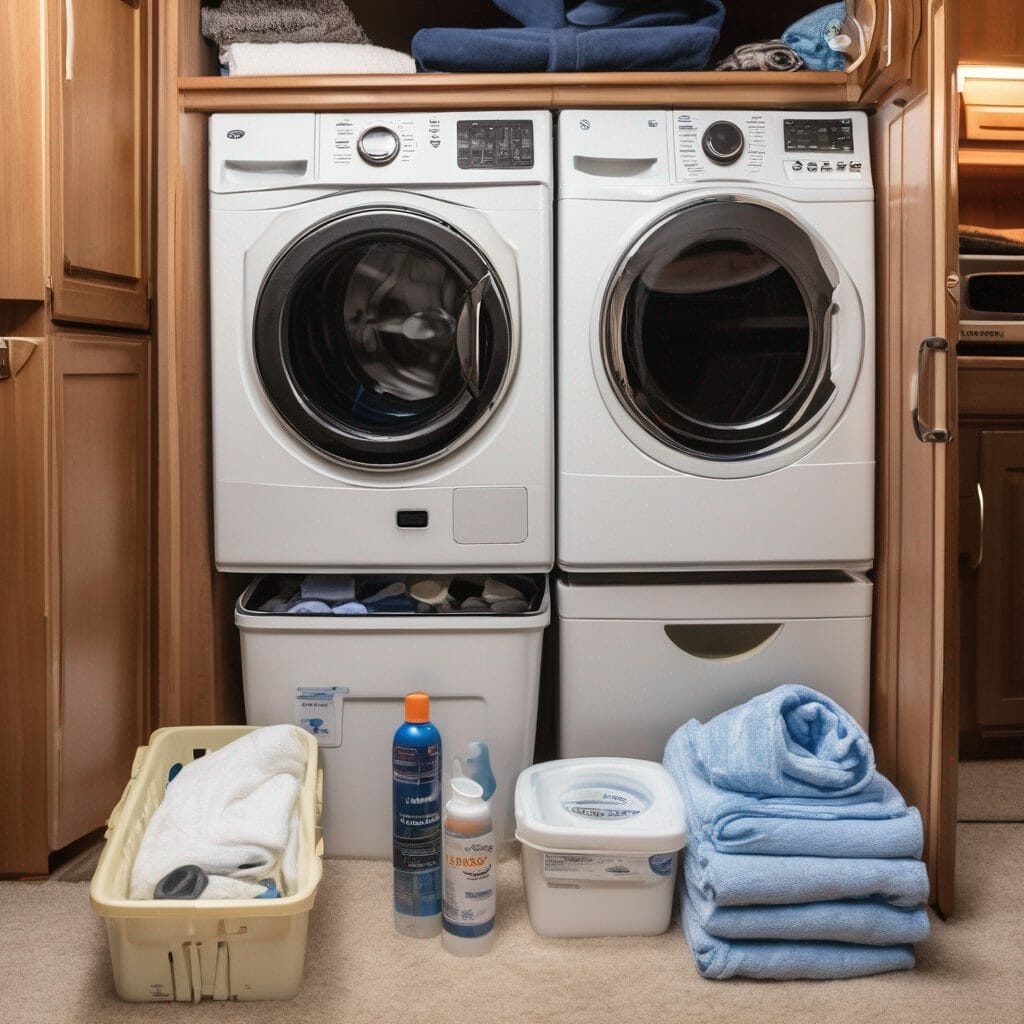
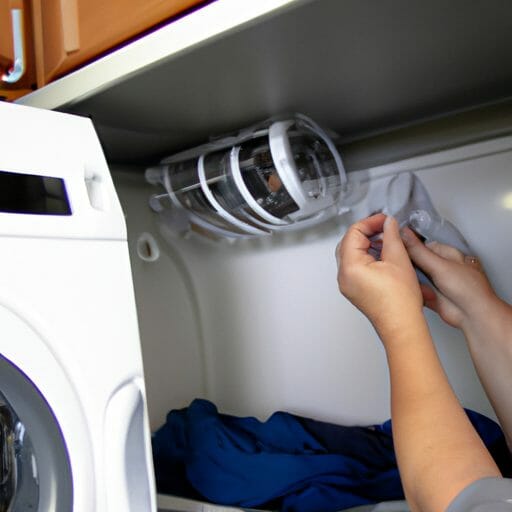
Proper Ventilation for the RV Washer and Dryer
You’ll need to check if there is adequate ventilation for the RV washer and dryer. Proper ventilation is crucial for the efficient and safe operation of these appliances. Here are three key reasons why venting requirements and proper airflow are important:
- Preventing overheating: Without adequate ventilation, the heat generated by the washer and dryer can build up, leading to overheating. This can not only damage the appliances but also pose a fire hazard.
- Reducing moisture: The washer and dryer produce a significant amount of moisture during operation. Proper ventilation helps to remove this moisture from the RV, preventing mold and mildew growth.
- Maintaining air quality: Ventilation ensures the circulation of fresh air, preventing the buildup of unpleasant odors and improving the overall air quality inside the RV.
To ensure proper ventilation, check if your RV has existing vents or if you need to install new ones. Make sure the vents are clear of any obstructions and positioned correctly to allow for the proper airflow. Regularly clean and maintain the vents to ensure optimal performance.
Testing and Troubleshooting the RV Washer and Dryer
To troubleshoot any issues with your RV washer and dryer, start by checking the power source and ensuring that it is properly connected. Make sure the RV is plugged into a reliable power outlet, and check if there are any loose connections or tripped circuit breakers.
If the power source is not the problem, the next step is to check the water supply. Ensure that the water valves are fully open and that there are no leaks in the hoses.
If there is still no power or water flowing, it may be a problem with the installation. Common installation mistakes include improper venting, incorrect wiring, or inadequate space around the washer and dryer. Double-check the installation instructions and consult an expert if needed.
Frequently Asked Questions
How Much Water Does an RV Washer and Dryer Use Per Cycle?
An RV washer and dryer typically use around 15-30 gallons of water per cycle. However, it’s important to choose an energy-efficient model that can minimize water usage and save you money in the long run.
Can I Install a Washer and Dryer in Any Type of Rv?
You can install a washer and dryer in any type of RV, but there are pros and cons to consider. To choose the right one, evaluate space, power requirements, and water usage.
How Long Does It Typically Take to Install an RV Washer and Dryer?
Typically, the installation time for an RV washer and dryer depends on several factors such as the complexity of the installation process and the specific models chosen. Recommended models include Splendide and Dometic.
Can I Use a Regular Household Washer and Dryer in My Rv?
You can’t use a regular household washer and dryer in your RV. However, you have the option of using a portable washer and dryer. There are pros and cons to consider.
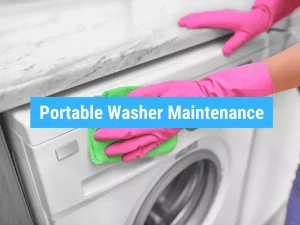
Are There Any Special Maintenance Requirements for an RV Washer and Dryer?
To properly maintain your RV washer and dryer, there are special maintenance requirements you should follow. Regular cleaning, checking hoses for leaks, and troubleshooting tips can help ensure their optimal performance while on the road.
Conclusion
In conclusion, installing an RV washer and dryer can greatly enhance the convenience and comfort of your travels. By carefully choosing the right appliances, preparing the space, and gathering the necessary tools and materials, you can successfully complete the installation process.
Proper plumbing connections, electrical power, and ventilation are essential for the proper functioning of the washer and dryer. For example, John and Sarah, a couple who frequently travel in their RV, installed a compact washer and dryer in their vehicle. They now enjoy the luxury of doing laundry on the road, saving time and money.