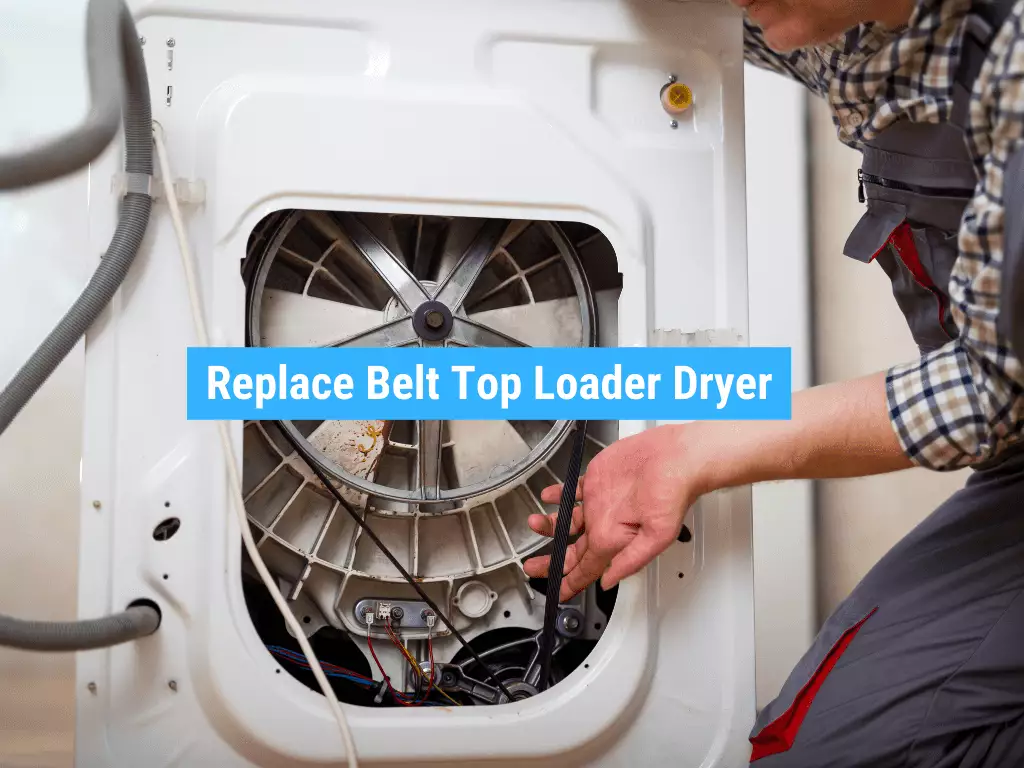
When to Replace the Belt on a Top Loader Dryer
Are you tired of the constant noise and lackluster performance of your top loader dryer? Well, fear not! In this article, we will reveal the telltale signs that it’s time to replace the belt on your beloved appliance.
Say goodbye to the clunks and thuds that disrupt your laundry routine. With our expert tips and step-by-step instructions, you’ll soon have your dryer drum spinning smoothly again.
So, let’s dive in and restore your dryer to its former glory!
Key Takeaways
Signs of Wear and Tear
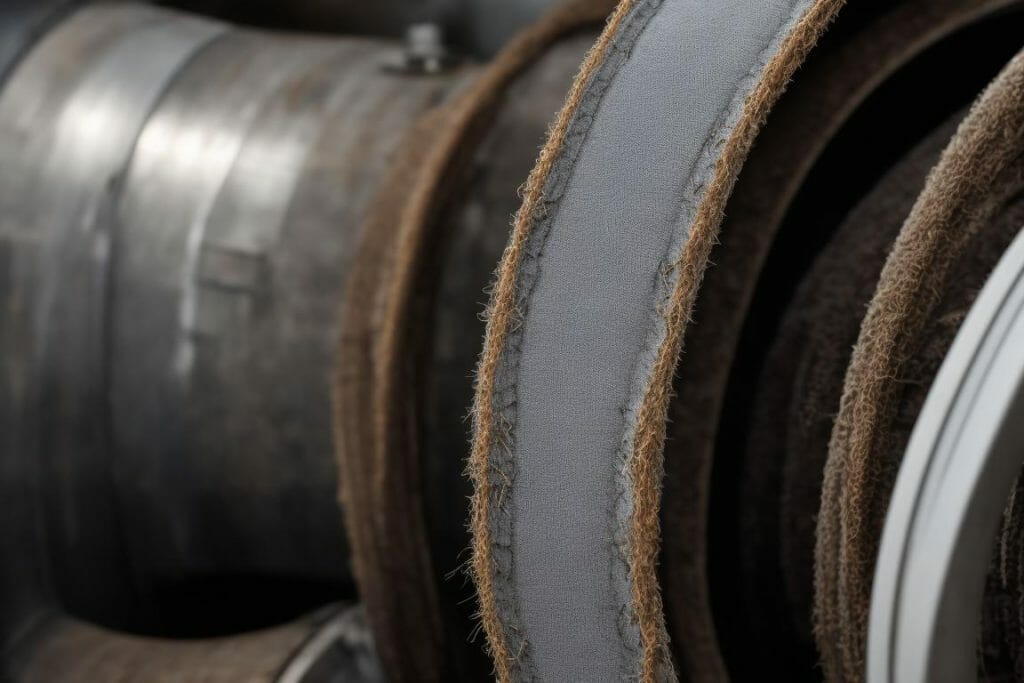
If you notice any fraying or cracking on the belt, it’s time to replace it. Belt maintenance is crucial to keep your top loader dryer running smoothly and efficiently.
Over time, belts can experience wear and tear due to regular use. Common belt problems include fraying, cracking, or stretching, which can lead to issues with the dryer’s performance. When the belt starts to show signs of wear, it can cause the drum to stop spinning or make loud noises during operation.
Regular inspection of the belt is essential to catch any problems early on. If you notice any of these common belt problems, it’s recommended to replace the belt promptly to prevent further damage and ensure optimal performance of your top loader dryer.
Understanding Belt Lifespan
Understanding how long the belt in your top loader dryer typically lasts can help you anticipate when it may need to be replaced. Proper belt maintenance is essential to ensure optimal performance and prevent costly repairs.
On average, the lifespan of a dryer belt is around 7-10 years, but this can vary depending on usage and maintenance. Regularly inspect the belt for signs of wear and tear, such as fraying or cracking. If you notice any issues, it’s important to replace the belt promptly to avoid further damage to the dryer.
The cost of a belt replacement can range from $10-$30, depending on the brand and model of your dryer. Remember, regular belt maintenance is key to prolonging the life of your top loader dryer and minimizing the belt replacement cost.
Noisy Operation
If you’re experiencing a noisy operation in your top loader dryer, there are two key points to consider: belt wearing out and belt tension issues.
The belt in your dryer can wear out over time due to regular use and friction, causing it to become less effective in turning the drum.
Additionally, a belt tension issue can occur if the belt is not properly aligned or tightened, leading to excessive noise during operation.
Belt Wearing Out
To determine if the belt on your top loader dryer is wearing out, check for signs of fraying or cracking. Here are three common belt problems to watch out for:
Regular belt maintenance is essential to keep your top loader dryer running smoothly and efficiently. By addressing these common belt problems, you can extend the lifespan of your dryer and avoid costly repairs.
Belt Tension Issue?
Check the tension of your dryer’s belt by gently pressing down on it with your finger. If the belt feels loose or slips easily, it may be time for a belt tension adjustment. Troubleshooting belt issues is an important part of maintaining your dryer’s performance.
A properly tensioned belt ensures that the drum rotates smoothly, allowing for efficient drying of your clothes. To adjust the belt tension, refer to the manufacturer’s instructions or consult a professional technician.
It’s essential to address belt tension issues promptly to prevent further damage to your dryer. Neglecting to adjust the belt tension can result in excessive wear and tear on the belt, decreased drying efficiency, and potential damage to other components.
Stay proactive and keep your dryer running smoothly with regular belt tension checks and adjustments.
| Common Belt Issues | Possible Causes |
|---|---|
| Loose belt | Worn-out tension pulley or idler pulley |
| Belt slipping | Worn-out belt or stretched belt |
| Belt squeaking | Lack of lubrication or worn-out belt |
| Belt breaking | Overloading the dryer or worn-out belt |
Dryer Drum Not Spinning
If your dryer drum is not spinning, there are a few key points to consider.
First, check for belt wear indicators to determine if the problem lies with the belt.
Next, assess whether it could be a motor or belt issue by inspecting the motor and checking for any signs of damage.
Belt Wear Indicators
You can easily identify signs of belt wear by looking for fraying or cracking on the belt surface. Belt maintenance is essential to ensure the smooth functioning of your top loader dryer. Here are three indicators to help you troubleshoot belt issues:
Regularly inspecting your dryer’s belt for these wear indicators will help you proactively address any issues and ensure the optimal performance of your top loader dryer.
Motor or Belt Issue
The motor or belt may be causing issues with the smooth operation of your top loader dryer. To ensure proper functioning and avoid potential breakdowns, it is crucial to perform regular motor maintenance and utilize troubleshooting techniques.
Start by checking if the motor is making any unusual noises or if it fails to start altogether. If you notice any abnormalities, it could indicate a motor problem that needs attention.
Additionally, inspect the belt for signs of wear and tear, such as fraying or cracking. A worn-out belt can affect the dryer’s performance and should be replaced promptly to avoid further damage.
DIY Belt Replacement?
To successfully replace the belt in your top loader dryer, it’s important to follow the proper DIY instructions. Here are three steps to help you with your DIY belt installation and troubleshooting belt issues:
- Prepare the dryer:
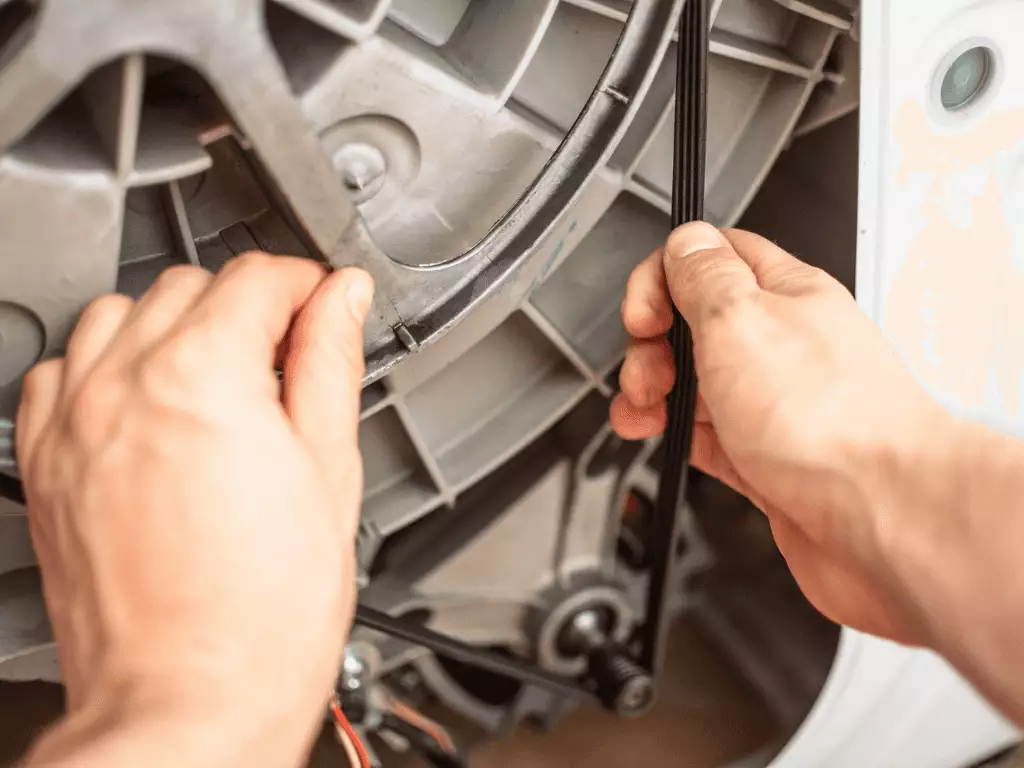
- Remove the old belt:
- Install the new belt:
Belt Inspection Tips
Check if there’s any fraying or cracks in the belt of your top loader dryer. Belt maintenance is crucial to ensure proper functioning and prevent any unexpected breakdowns.
To troubleshoot potential issues, start by carefully examining the belt for signs of wear and tear. Look for fraying, cracks, or any visible damage. If you notice any of these issues, it’s a clear indication that the belt needs to be replaced.
A damaged belt can cause the dryer to not spin properly or make unusual noises. Replacing the belt is a relatively simple task that can be done yourself with the help of a few tools and a replacement belt.
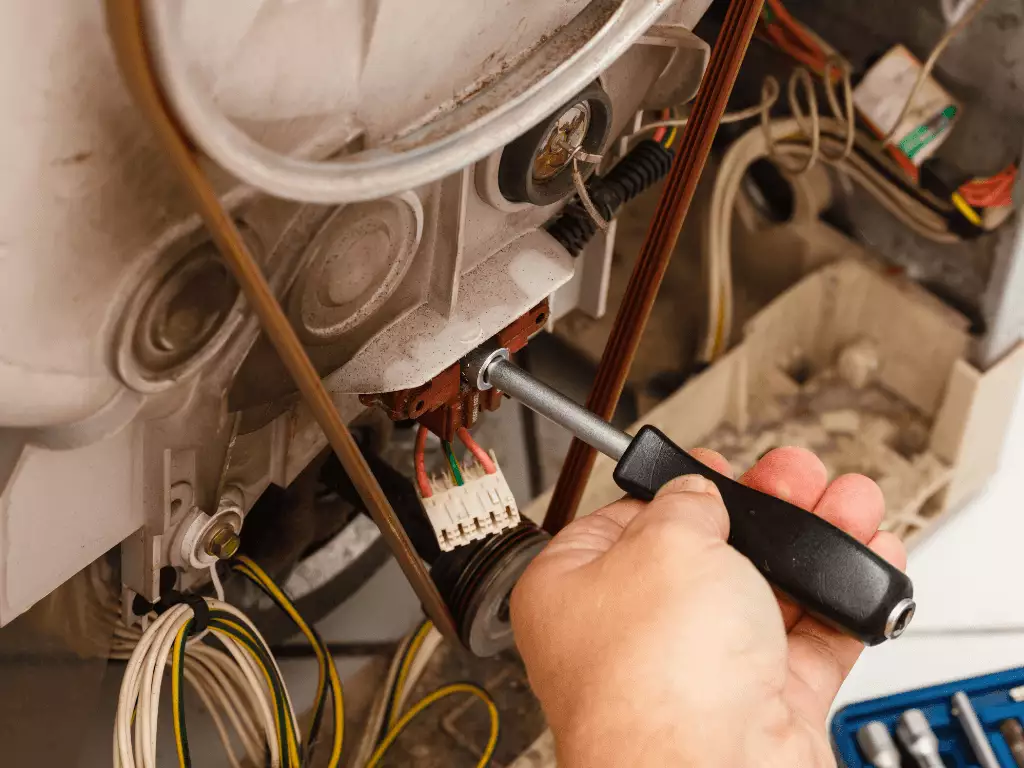
Steps to Replace the Belt
First, you’ll need to gather the necessary tools and a replacement belt. Here are the steps to replace the belt on your top loader dryer:
- Unplug the dryer: Safety first! Before starting any repair work, make sure the dryer is completely disconnected from the power source.
- Remove the top panel: Most top loader dryers have a removable top panel. Use a screwdriver or a socket wrench to remove the screws holding it in place.
- Replace the belt: Locate the old belt around the drum and motor pulley. Carefully remove it and replace it with the new belt, making sure it is properly aligned.
Common belt problems to watch out for include fraying, cracking, or complete breakage. If you notice any of these issues, it’s time to replace the belt.
Frequently Asked Questions
How Do I Know if the Belt on My Top Loader Dryer Needs to Be Replaced?
If your top loader dryer is not tumbling or making unusual noises, these are signs that the belt may need replacing. Troubleshooting these issues can help determine if a belt replacement is necessary.
Can I Replace the Belt on My Top Loader Dryer Myself, or Do I Need to Hire a Professional?
You can replace the belt on your top loader dryer yourself or hire a professional. DIY saves money but requires technical skill. Hiring a professional ensures precision but can be expensive. Tips for successful belt replacement: refer to the manual, use proper tools.
Are There Any Common Mistakes to Avoid When Replacing the Belt on a Top Loader Dryer?
When replacing the belt on a top loader dryer, be mindful of common mistakes. Improper installation techniques and using the wrong type of belt can lead to issues. Ensure precision and technicality to avoid errors.
What Can I Do to Extend the Lifespan of the New Belt on My Top Loader Dryer?
To extend the lifespan of your new belt on a top loader dryer, follow these troubleshooting tips: regularly clean the lint filter, avoid overloading the dryer, and ensure the drum is properly aligned.
Is It Normal for a New Belt to Make Some Noise When First Installed in a Top Loader Dryer?
When a new belt is installed in a top loader dryer, it is not unusual for it to make some noise initially. However, if the noise persists or becomes excessive, it may indicate a durability issue that requires troubleshooting.
Conclusion
In conclusion, knowing when to replace the belt on your top loader dryer is essential for its smooth operation. By paying attention to signs of wear and tear, understanding the belt’s lifespan, and performing regular inspections, you can avoid noisy operation and ensure that the dryer drum keeps spinning efficiently.
So don’t let your dryer belt become the weak link in your laundry routine. Stay on top of maintenance and keep your dryer running like a well-oiled machine!