Maintaining and Repairing RV Washers and Dryers
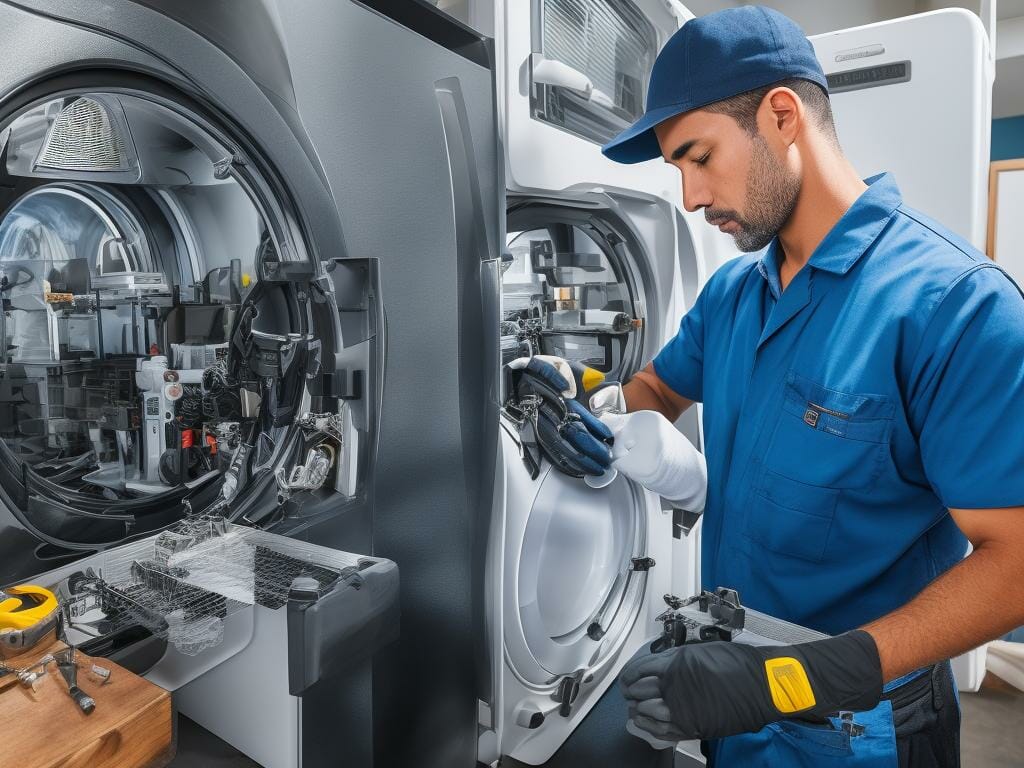
Are you tired of your RV washer and dryer giving you trouble on your adventures? Don’t worry, we’ve got you covered!
In this article, we will guide you through the process of maintaining and repairing your RV’s essential appliances.
From troubleshooting common issues to replacing worn-out belts and pulleys, we will equip you with the knowledge and skills to keep your washer and dryer running smoothly.
Join us as we delve into the world of RV appliance care and ensure a worry-free journey every time.
Key Takeaways
Troubleshooting Common Issues
If your RV washer or dryer is not working properly, there are a few common issues that you can troubleshoot.
One of the most common problems is water leaks. To fix this issue, start by checking the hoses for any signs of damage or loose connections. Tighten the connections or replace the hoses if necessary.
Another common problem is a faulty heating element. If your dryer is not producing enough heat, it may be due to a faulty heating element. To replace it, first, disconnect the power supply and remove the back panel. Locate the heating element and disconnect the wires. Install the new heating element and reconnect the wires.
These troubleshooting tips can help you get your RV washer or dryer back to working condition without having to call for professional help.
Cleaning and Maintaining the Drum
Regularly cleaning and maintaining the drum is essential for proper functioning of your RV washer and dryer. Neglecting this task can lead to a buildup of dirt, lint, and other debris, which can affect the performance and lifespan of your appliance. To keep your drum clean, there are a few cleaning methods you can try.
First, wipe the drum with a damp cloth to remove any loose dirt or lint.
Next, mix a solution of warm water and mild detergent and use a soft brush or sponge to scrub the drum. Rinse thoroughly and dry with a clean cloth.
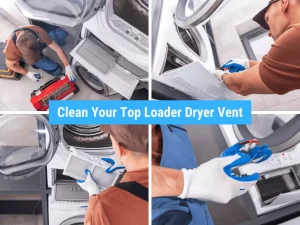
Finally, it’s important to regularly check and remove lint from the lint trap or filter. This will prevent lint from accumulating and clogging the dryer vent, ensuring efficient drying and reducing the risk of fire hazards.
By following these cleaning methods and properly removing lint, you can maintain the performance and longevity of your RV washer and dryer.
| Cleaning Methods | Removing Lint |
|---|---|
| Wipe with a damp cloth | Regularly check and clean the lint trap |
| Use a mild detergent solution | Remove lint from the dryer vent |
| Scrub with a soft brush or sponge | |
| Rinse and dry thoroughly |
Replacing Worn-Out Belts and Pulleys
To keep your appliance running smoothly, check for worn-out belts and pulleys that may need replacing. Here are three important things to consider when dealing with belt tension and pulley alignment:
- Belt tension: Proper belt tension is essential for the smooth operation of your washer or dryer. If the belt is too loose, it may slip or cause the appliance to malfunction. On the other hand, if the belt is too tight, it can put unnecessary strain on the motor and other components. Use a tension gauge to ensure the belt is within the manufacturer’s recommended range.
- Pulley alignment: Misaligned pulleys can cause excessive wear on the belts and lead to premature failure. Regularly inspect the pulleys and make sure they are aligned properly. Use a straightedge or laser alignment tool to check for any deviations. If misalignment is detected, adjust the pulleys accordingly to ensure smooth operation.
- Regular maintenance: To prevent belt and pulley issues, it’s crucial to perform regular maintenance. Keep the belts clean and free from debris, as dirt and grime can cause slippage and wear. Lubricate the pulleys as recommended by the manufacturer to minimize friction and prolong their lifespan.
Understanding and Fixing Drainage Problems
When your appliance experiences drainage problems, check for clogs or blockages that could be causing the issue. Proper drainage system maintenance is crucial to ensure the smooth functioning of your washer and dryer in your RV.
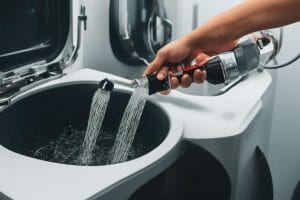
Over time, debris and lint can accumulate in the drainage system, leading to slow or no drainage at all. To unclog the system, start by disconnecting the power and water supply to the appliance. Use a plumber’s snake or a wire hanger to gently remove any visible blockages. If the clog persists, try using a mixture of hot water and vinegar to dissolve it.
Additionally, regularly cleaning the lint trap and drain hose will help prevent future clogs. By following these unclogging techniques and maintaining your drainage system, you can ensure the efficient operation of your RV washer and dryer.
Repairing Electrical Components
Are you experiencing electrical issues in your home or workspace?
In this discussion, we will dive into troubleshooting common electrical issues and explore DIY electrical repairs. By understanding the potential causes of these problems and learning how to fix them yourself, you can save time and money while ensuring the safety and functionality of your electrical system.
Let’s get started with some practical tips and techniques to tackle these common electrical challenges.
Troubleshooting Common Electrical Issues
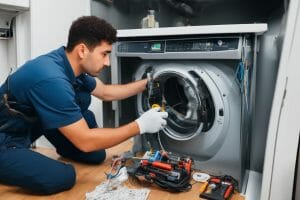
One common electrical issue with RV washers and dryers is that they won’t turn on. If you’re experiencing this problem, don’t worry, as there are a few steps you can take to diagnose and fix the issue. Here are three things to consider:
DIY Electrical Repairs
If you’re looking to save money and learn new skills, tackling DIY electrical repairs can be a rewarding and empowering experience. However, it is crucial to take proper safety precautions to ensure your well-being and the integrity of your electrical system.
Before starting any DIY wiring repairs, make sure to turn off the power at the main circuit breaker to avoid any potential electrocution. Additionally, it is important to wear protective gear such as gloves, safety glasses, and non-conductive footwear.
When working with electrical wires, always use the correct tools and follow the manufacturer’s instructions. Double-check that the wire you are working with is not live by using a voltage tester.
Lastly, remember to never attempt repairs that are beyond your skill level, and always consult a licensed electrician if you are unsure.
Preventative Maintenance Tips for Long-Lasting Performance
To ensure long-lasting performance, it’s important to regularly maintain and service your RV washers and dryers. Neglecting their maintenance can lead to decreased efficiency and even costly repairs.
Here are three key preventative maintenance tips to extend the lifespan of your RV washer and dryer:
- Regularly clean the dryer lint filter: Lint buildup can clog the dryer vent and reduce airflow, causing the machine to work harder and potentially overheat. Clean the lint filter after every use to prevent lint accumulation.
- Inspect and clean the dryer vent: Over time, lint can accumulate in the dryer vent, restricting airflow and increasing the risk of a fire. Regularly inspect and clean the vent to ensure proper ventilation and prevent hazards.
- Schedule professional maintenance: Regular maintenance by a qualified technician can help identify and address potential issues before they become major problems. A professional can also clean and lubricate internal components for optimal performance.
Frequently Asked Questions
How Much Does It Cost to Replace a Worn-Out Belt or Pulley in an RV Washer or Dryer?
Replacing a worn-out belt or pulley in your RV washer or dryer can cost around $50 to $100. It is important to maintain and repair these components to ensure proper functioning of your appliances.
Can I Use Regular Household Cleaning Products to Clean the Drum of My RV Washer and Dryer?
No, you should not use regular household cleaning products to clean the drum of your RV washer and dryer. Using alternative cleaning methods specifically designed for RV washers and dryers is crucial for proper maintenance.
How Often Should I Clean and Maintain the Drum of My RV Washer and Dryer?
To maintain your RV washer and dryer, clean the drum regularly. The recommended frequency for cleaning is every 3-6 months. Use specialized cleaning products designed for RV washers and dryers to ensure optimal performance and longevity.
Are There Any Specific Tools or Equipment Needed to Repair the Electrical Components of an RV Washer or Dryer?
To repair the electrical components of your RV washer or dryer, you’ll need specific tools like a multimeter, wire strippers, and electrical tape. These tools are essential for troubleshooting and fixing any issues with the electrical system.
What Are Some Signs That Indicate a Drainage Problem in an RV Washer or Dryer?
If you notice water pooling or not draining properly in your RV washer or dryer, it may be a sign of a clogged drainage system. To fix the problem, check and clean the drainage hose and filter.
Conclusion
In conclusion, maintain and repair your RV washer and dryer is crucial for its long-lasting performance. By troubleshooting common issues, cleaning the drum, replacing worn-out belts and pulleys, and understanding drainage problems, you can ensure that your appliances are in top shape.
Repairing electrical components is another important aspect of maintaining your RV washer and dryer. By addressing any electrical issues, you can prevent further damage and ensure the safe operation of your appliances.
But remember, prevention is key! Regularly performing preventative maintenance will save you time and money in the long run. By inspecting and cleaning your appliances regularly, you can catch any potential problems before they become major issues.
So, why wait? Start taking care of your RV washers and dryers today, and enjoy hassle-free laundry on the road!

